
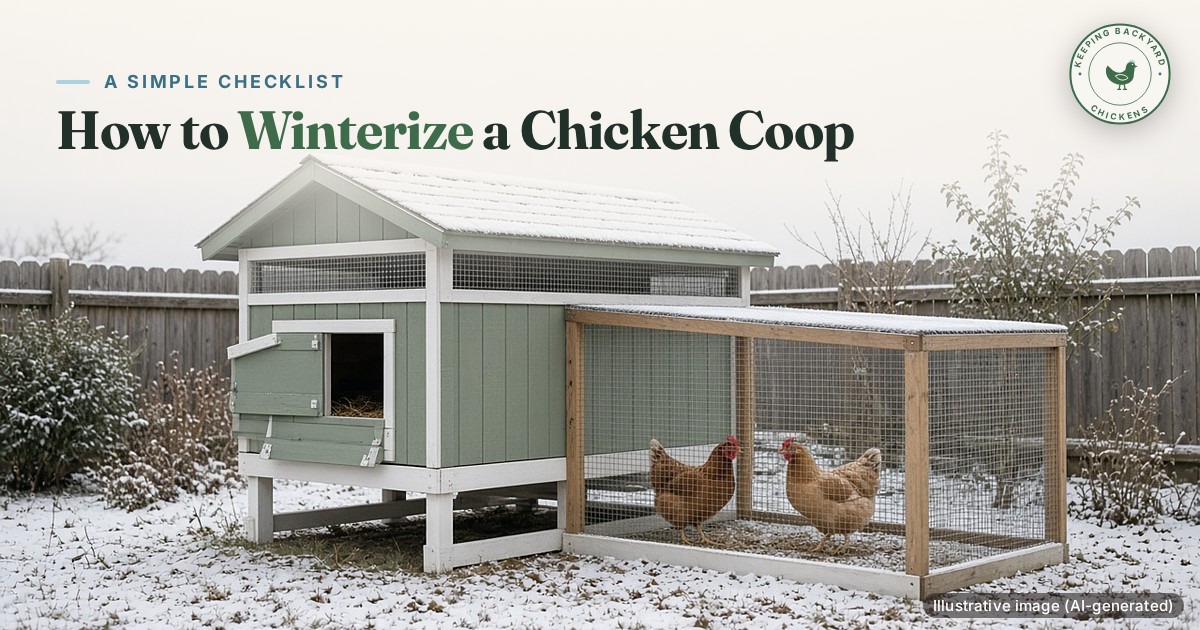
Winterizing a chicken coop is mostly a weekend of small fixes: sealing gaps, checking vents, adding bedding, sorting out water. Do it on a mild fall day, before the first hard freeze, and you’ll thank yourself in January when it’s 10 degrees and sleeting.
Here’s the full list, in the order I’d tackle it. Most of it costs very little.
Every coop is different, so treat this as a list to adapt, not a rulebook. A small backyard coop for three hens and a walk-in shed for a dozen need the same basics: dry, free of drafts at roost level, well ventilated and predator-proof.
When to winterize your coop
Aim for early to mid fall, while it’s still comfortable to work outside and before the ground freezes. That gives you time to fix anything you find, like a leaky roof or a soft board, and lets your flock settle into the changes before the real cold arrives.
Ohio State Extension recommends handling repairs and maintenance in warm weather to prepare for winter. If you’re reading this in December, don’t worry. Everything here still works. Start with drafts, ventilation and water.
A practical trigger: start when normal overnight lows head toward freezing. In a dry high-desert city like Reno, for example, normal lows are 40°F in October, 31°F in November and 26°F in December (NOAA 1991 to 2020 normals via PlainClimate), so the end of October is a good deadline there. Check the normals for your own town the same way.
Tracy’s take
If you only get one weekend, spend it on three things: the high vents, hardware cloth on every opening, and your water plan. Insulation and lighting can wait.
Step 1: Deep clean, then inspect
Start with a clean slate. Pull out the old bedding, scrape the roosts and droppings boards, and let the coop air out. Ohio State suggests removing used bedding and cleaning the coop before you add a big fresh layer for winter.
While it’s empty, look at everything:
- Is the roof solid? Any drips or stains after a rain?
- Any soft, rotting boards near the floor?
- Do doors and windows close and latch tightly?
- Any gaps where the walls meet the roof or floor?
Step 2: Find and fix drafts
Here’s the most useful trick I know of, straight from Ohio State: turn on a light inside the coop after dark, then walk around outside and look for light leaking through. Every bright crack is a spot where wind and rain can get in. K-State Research and Extension adds another one: hold a wet hand or a tissue near seams and corners to feel for moving air.
Seal gaps with caulk, scrap wood or weatherstripping. Keep any spray foam or caulk covered or out of reach, because chickens will peck at it.
Focus on drafts at roost level and below. Wind blowing across sleeping birds is what pulls heat away from them.
Step 3: Keep ventilation open up high
This is the step people get wrong most. When it’s cold, the instinct is to seal everything. Don’t.
Chickens put out a lot of moisture through breathing and droppings. University of Minnesota Extension notes that manure is about 70% water. In a sealed coop, that moisture hangs in the air, condenses on cold walls, and raises the risk of frostbite and respiratory problems from ammonia.
What you want:
- Vents near the roofline, above the roosts, so warm damp air rises and escapes without blowing on the birds
- Openings on the side away from prevailing winds, as UNH Extension suggests
- Hardware cloth over every opening, so vents don’t become entry points
How do you know if you have enough? Check on a cold morning. If you see frost or condensation on walls or windows, or smell ammonia when you open the door, you need more airflow. If the coop smells fresh and the bedding is dry, you’re in good shape.
Vent math to start from. Meyer Hatchery’s rule of thumb is 1 square foot of vent per 10 square feet of floor in warm weather, with winter openings kept above the highest roost and covered so snow can’t blow in. So a 4×6 coop (24 square feet) would start around 2.4 square feet of total venting. Then check it with a thermometer-hygrometer at roost height: University of Kentucky gives 50 to 70% relative humidity as the target for poultry housing. If dawn readings sit above 70%, or you see frost on the walls, open more up high.
Step 4: Predator-proof while you’re at it
Hungry predators get bolder in winter, and you’re already out there with tools. Two things to know:
Chicken wire keeps chickens in. It doesn’t keep predators out. Raccoons can tear it or reach through it, and the Extension poultry team notes that least weasels can squeeze through holes as small as 1/4 inch, so they can get through chicken wire.
Use welded hardware cloth instead. Half-inch hardware cloth is the usual choice for windows, vents and run walls. Go with 1/4-inch where weasels or rats are a problem. Attach it with screws and washers, not just staples. To stop diggers, bury it at least 12 inches deep, as the Extension article recommends, or lay an apron of hardware cloth flat on the ground around the outside of the run.
Check your latches too. Raccoons can open simple hooks and slide bolts. A latch that needs two steps, or a carabiner clipped through it, is much harder for clever paws.
Skip this
- Chicken wire on vents and windows. It keeps chickens in but won’t keep raccoons out, and the Extension poultry team notes least weasels fit through 1/4-inch holes. Use welded hardware cloth.
- Staples alone on hardware cloth. Use screws with washers so a raccoon can’t peel the corner back.
- A single hook-and-eye latch. Raccoons open them. Use a two-step latch or clip a carabiner through it.
Step 5: Add deep, dry bedding
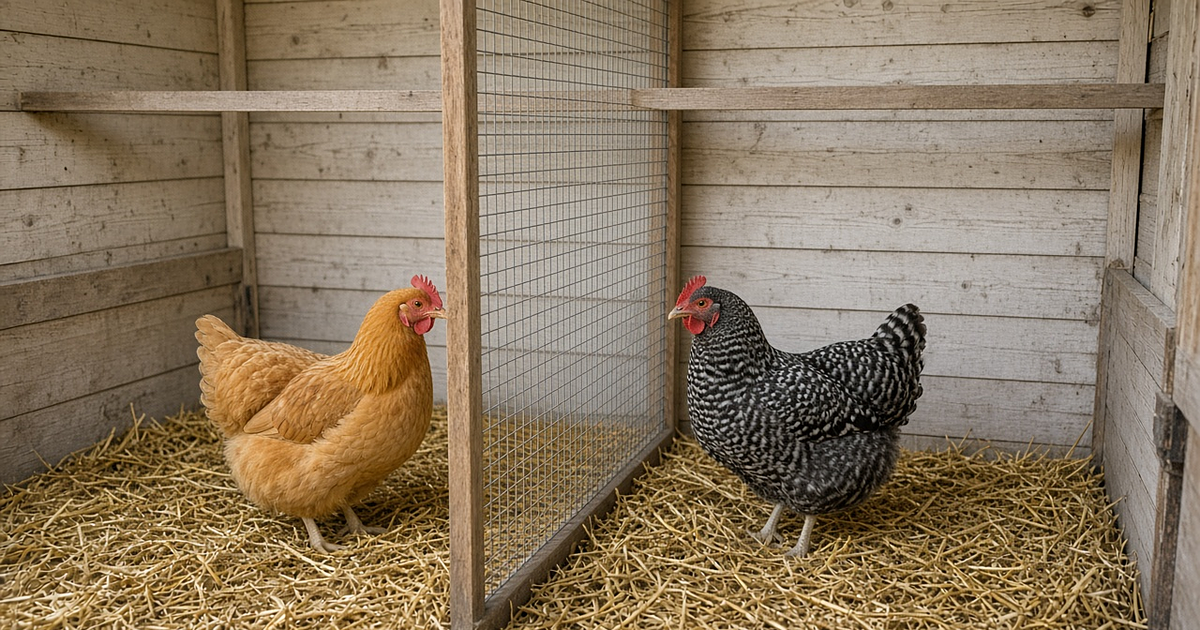
Once the coop is clean, put down 4 to 6 inches of fresh pine shavings or straw. UNH and UMN both recommend this range. It insulates the floor and gives your birds a soft, warm place to land.
Many keepers run the deep litter method through winter. Instead of cleaning out regularly, you stir the bedding so droppings work their way down, then add a fresh layer on top. UMN notes this gives off a bit of natural heat as the manure breaks down, with a full clean-out in spring. They also suggest a 6 to 8 inch kickboard across the doorway so bedding doesn’t spill out.
The trade-off: deep bedding can raise humidity, so stir it often, add dry material, and scoop out wet patches around the waterer. A droppings board under the roost makes this much easier.
How much bedding to buy: multiply your coop floor in square feet by 0.5 to get cubic feet for a 6-inch layer (by 0.33 for 4 inches). A 4×8 coop is 32 square feet, so it needs about 16 cubic feet for 6 inches, or about 11 for 4. Compressed shavings bales list their expanded volume on the bag, so you can work out how many you need before you go to the store, plus a few for top-ups.
Step 6: Check the roosts
Roosts keep birds off the cold floor and let them sit down over their feet. UMN recommends roosts at least 12 inches above the floor with about 9 inches of space per bird. Wide wooden roosts are best. A 2×4 with the wide side up lets hens cover their toes.
Replace any metal or plastic perches. They hold the cold and can lead to frostbitten feet.
Step 7: Insulate (optional) and add windbreaks
Insulation isn’t required. UNH says blocking wind matters more. But if your coop walls are bare and you live somewhere bitter, insulation helps hold steadier temperatures. Cover it with plywood or paneling so chickens can’t peck it apart and rodents can’t nest in it.
For the run, wrap the windward side with a tarp or clear plastic panels. Ohio State has one important warning: don’t run the plastic all the way to the roof. Leave a gap up top so air keeps moving.
Shovel a path in the run after snow and toss down straw or old hay. Chickens hate walking on snow, and a dry spot gets them outside for fresh air.
Step 8: Plan your winter water
Frozen water is the daily winter chore, and it matters. Chickens stop eating when they can’t drink.
Pick your plan now, before the first freeze:
- Heated waterer: a thermostat-controlled waterer or heated base keeps water open. See my guide to the best heated chicken waterers.
- Swap system: two rubber pans or buckets you rotate morning and evening. Rubber flexes so you can pop the ice out.
Either way, UMN recommends having a spare waterer on hand in case one freezes or fails.
Step 9: Make electrical work safe
If you’re running power to the coop for a heated waterer or light, do it right. UMN recommends having a professional electrician install power to the coop, using extension cords only short term, and keeping all wires away from birds, water and bedding. Use a GFCI-protected outlet.
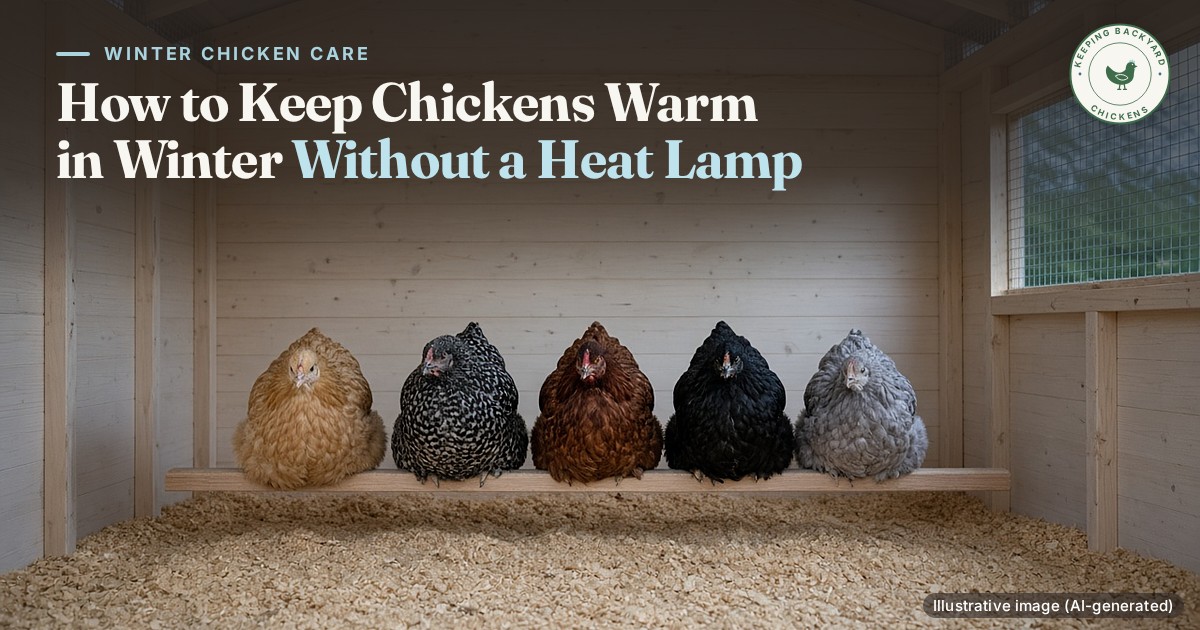
And skip the heat lamp. Heat lamps are a leading cause of coop fires, and most healthy flocks don’t need extra heat at all. Here’s how to keep chickens warm in winter without a heat lamp.
Step 10: Decide on lighting
Hens slow down or stop laying when days get short. UNH says egg production drops when daylight falls below about 14 hours.
You have two choices, and both are fine:
- Let them rest. Many keepers give their hens the winter off.
- Add light on a timer. UMN recommends adding light in the morning before sunrise, not after sunset, so birds aren’t left in sudden darkness and unable to find the roost. Use an LED bulb, which runs cool, and mount it securely.
Step 11: Stock up on feed, grit and bedding
Chickens can eat up to 25% more feed in cold weather, according to UMN. Stock up before winter storms hit, and store feed in a metal can with a tight lid to keep out moisture and rodents.
Keep poultry grit available, since snow covers the small stones chickens normally find. Have extra bedding on hand for top-ups. A few bales of straw or bags of shavings go fast in a deep litter coop.
Step 12: Check your flock
Before the cold sets in, pick up each bird and check her over. Look at body condition, check under feathers for mites or lice, and look at combs, eyes and feet. A bird going into winter thin or sick is more vulnerable to the cold.
Hens that are molting late may need extra protein and a little patience while their feathers grow back.
Winter trouble tends to show up at the worst time: a storm that knocks out the power, a predator that finds a weak spot when food is scarce, or a hen who gets sick in the middle of a cold snap. A spare waterer, a full feed bin and a basic first-aid kit, all ready before the first big storm, make each of these much easier to handle.
The winterizing mistakes that cause the most trouble
- Sealing the coop tight. Moisture builds up, and damp air raises frostbite risk (UMN Extension).
- Chicken wire where you need hardware cloth. It won’t stop raccoons or weasels (Extension poultry team).
- An extension cord as permanent coop power. UMN says short-term only, and to have an electrician run power.
- Insulation the birds can reach. They’ll peck it apart. Cover it with plywood or paneling.
- Run plastic all the way to the roof. Ohio State says to leave a gap up top for airflow.
- Waiting for the first storm. University of Maryland Extension recommends starting early so there’s time to fix what you find.
If your winter is dry cold (high desert notes)
If you live somewhere with dry, sunny, cold winters, like the high desert of the Great Basin, adjust the plan a little.
Reno, Nevada is a good example. In a normal January there, the high is 48°F and the low is 26°F, 26 nights fall to freezing, and humidity swings from about 76% at 6 a.m. to 38% at 3 p.m. (NOAA 1991 to 2020 normals for the Reno airport, summarized by PlainClimate). That pattern means:
- Water freezes overnight and often thaws by afternoon. The morning check is the one that matters. A dark rubber pan set in a sunny, sheltered spot helps, because it soaks up heat and won’t crack (University of Maryland Extension).
- A 20-degree swing between afternoon and dawn is normal. A coop that feels mild at 3 p.m. can be in the 20s by sunrise, so do your bedding and vent check at dusk, not in the warm part of the day.
- Dry air doesn’t mean a dry coop. Humidity still peaks near dawn, and hens add their own moisture all night. Go by the dawn hygrometer reading, not the forecast.
- Sun is free heat. Lots of sunny winter days make a south-facing window or a clear windbreak on the run worth more here than in cloudy places. UMD suggests siting the coop so winter sun gets in.
- Wind is the real enemy. Breezes are often light, but storm fronts bring strong gusts. Block the windward side of the run and check for gaps at roost height after every big blow.
- Dust builds up. Very dry bedding gets dusty, so pick low-dust, large-flake shavings and top up rather than leaving fine, broken-down litter.
Coldest night quick plan
Once the coop is ready, keep a 5-step plan for the worst night of the year: vents and drafts, dry bedding, a full feeder with a bedtime handful of scratch, tomorrow’s water, and a head count with a look at big combs. The full version is in how to keep chickens warm in winter.
Your winterizing checklist at a glance
- Coop cleaned and inspected (roof, boards, latches)
- Drafts sealed at roost level and below
- High vents open and covered with hardware cloth
- Hardware cloth (not chicken wire) on windows, vents and run
- 4 to 6 inches of fresh bedding, droppings board in place
- Wide wooden roosts, about 9 inches per bird
- Windbreak on the run, with an open gap at the top
- Water plan ready (heated waterer or swap system, plus a spare)
- Wiring safe, GFCI outlet, no heat lamp
- Lighting decision made
- Feed, grit and bedding stocked
- Every bird checked over
FAQ
Should I completely close up my chicken coop for winter?
No. Seal drafts at roost level and below, but keep vents open near the roof. A sealed coop traps moisture and ammonia, which makes frostbite and breathing problems more likely.
Do I need to insulate my chicken coop?
Not necessarily. Blocking wind and keeping the coop dry matter more. Insulation can help in very cold climates, but cover it so chickens can’t peck at it.
What’s the best bedding for winter?
Pine shavings and straw are both popular. Ohio State also lists wood chips, soft hay, ground corn cobs and shredded paper. Whatever you pick, keep it dry and use 4 to 6 inches.
Is the deep litter method safe?
It works well for many keepers when it’s managed. Keep it dry, stir it regularly, add fresh material on top, and clean it out in spring. If it gets wet or smells of ammonia, pull out the wet spots and improve ventilation.
Should I put a tarp over my chicken run in winter?
A tarp or clear plastic on the windward side is a great windbreak. Leave a gap at the top for airflow, and clear heavy snow off any run cover so it doesn’t sag or collapse.
Can I use chicken wire on vents?
I wouldn’t. Use welded hardware cloth on every vent and window. Chicken wire won’t stop raccoons, and weasels can get through it.
Featured image: illustrative (AI-generated).


Leave a Reply